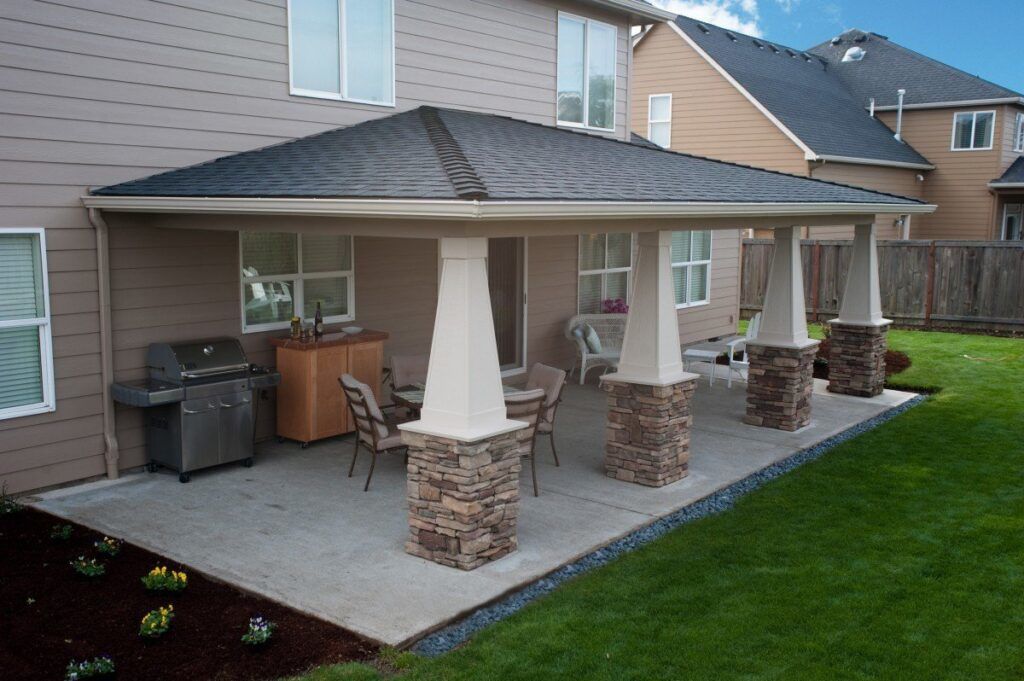
DIY work outside the home can save you just as much money as DIY work inside the home. Pouring concrete for a DIY patio is simple and can help you cut down on homebuilding costs.
What Do You Need to Pour Concrete for a DIY Patio?
Depending on how in-depth your patio project is, your materials may vary a little. However, most patio projects call for the following items.
- Lumber (2x4s, boards, or other wood)
- Hammer and nails
- Wire mesh
- Concrete
- Paver
- Plastic sheet
From start to finish, this project may take you about half a day. Make sure you plan out a block of time for the concrete portion, as stopping in the middle of that can only end in disaster!
Steps to Pouring Concrete
More often than not, a home project takes a little more reading and research than a “1-2-3” blog article. Make sure you do your homework so that you can feel confident before beginning your DIY patio. That said, the process usually involves the following steps.
1. Excavate and grade the area.
Once you choose the patio location, you will have to dig out the dirt about 6-12 inches deep, press it down flat, and spread gravel on top. Focus on making the area level and compact so that it can support the poured concrete. The patio should slope slightly away from the house to aid in water drainage.
2. Measure and drive in stakes.
Next, drive stakes in a straight line around the perimeter of the patio. Place the stakes in the corners and spaced out every couple of feet. The length isn’t particularly important, as you can trim them to an even height once they have all been placed in the ground.
3. Lay the form boards.
After you drive in the stakes, connect each stake to the next by nailing boards in between each. Keep the top of the board flush with the top of the stake, trimming as you go. Think of this portion as building the cake pan that will later hold the “batter” (the concrete) together. Make sure you spray the boards with an oil-based spray so that you can remove them easily once the concrete has cured.
4. Lay mesh.
The wire mesh provides additional support to the concrete once it is poured. Lay it evenly inside the form, positioning it so that it will stand in the middle of the concrete when it is poured.
5. Pour concrete.
For this step, it might be helpful to enlist the help of a friend. Mix your concrete and, starting at one corner, dump it out evenly, smoothing it with a paver or shovel as you go. If your mesh collapses, you can use a tool to dig inside the concrete and pull it back up.
6. Flatten surface and round edges.
Once all of the concrete has been poured and flattened, use a paving tool to finish smoothing the top, rounding the edges, and filling in uneven areas. If you prefer for your patio to have a little more traction than smoothness, lightly draw a broom across the top for some intentional lines.
7. Let the concrete cure.
Now, it’s time to let the concrete cure. Take your plastic sheet and lay it over the top of the concrete, then wait a few days. Remove the sheeting, test to make sure the concrete has cured, and then remove the form boards.
Congratulations, you have just built a DIY patio!
Need a New Home?
If you’d like to know more about the benefits of modular homebuilding, do not hesitate to call us today. At Next Modular, we know that choosing a home is likely one of the most important financial decisions you will make. As an experienced modular home builder, we are committed to being your guiding light through this process.


