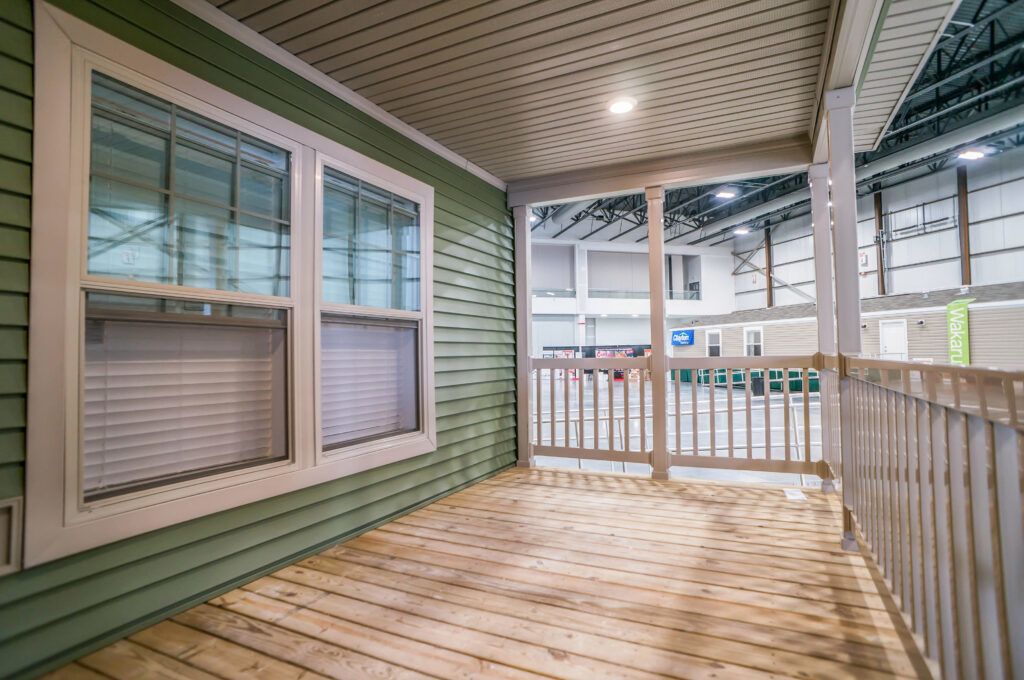
Did you know that you don’t have to pay for a deck or porch as part of your custom home building cost? Save money by building your very own DIY porch.
Which Materials Do You Need for a DIY Porch?
At first glance, building a porch can seem like a big project. However, as long as you take the time to plan, gather the right materials, and follow clear instructions, you will wind up with a project to be proud of. First, let’s take a look at some of the materials you will need.
- Level
- Tape Measure
- Gravel
- Weed Blocker
- Deck Piers
- Beams
- Deck Screws
- Spacers
- Stain
- Sealant
- Screen
This is not an exhaustive list (think drills and sanders), but it does provide a general idea of what you might not have on hand and need to pick up before beginning your project.
9 Steps to Building a DIY Porch or Deck
Depending on the exact style you want and your porch’s location, you can follow more specifically-tailored plans. That said, the process for building a DIY screened-in porch looks a little something like this.
1. Choose your porch’s location and design.
Of course, before you can begin physically building your porch, you must have some sort of plan. Decide if you want a front, back, side, or wrap-around porch. If you can, sketch a rough design so that you have an end goal to work toward. Make sure you choose a location where it won’t be in the way of other things, like your driveway.
Once you have worked out a fairly detailed plan, you can make adjustments to materials and equipment as needed. Then, it’s time to build your foundation.
2. Lay gravel and weed barrier.
Your porch foundation is not the same as your home, driveway, or garage foundation. Part 1 of building your foundation is to dig holes for your footings. Then place gravel at the bottom of each hole to prevent the foot from sliding around underneath the deck.
The weed barrier provides a protective layer that keeps weeds from growing up through your deck boards after everything is built.
3. Add footings and jousts.
Part 2 of your foundation is to add the footings (deck piers) and the jousts. Take special care to make sure everything is level, as this will make your life much easier when it comes time to lay your deck planks. Once you have added your deck piers, re-bury them to prevent sliding.
3. Waterproof your wood.
Next, it’s time to prep your deck planks. Based on your deck measurements, cut your wood to fit, and then waterproof the underside to prevent mold and mildew from rotting the wood. You only need to waterproof the underside for now, as you will seal the top later after staining it.
3. Lay your deck planks.
It’s time to lay your planks! Use your spacer to evenly lay the planks, waterproofed side down, across your jousts. Take your time with this portion of the project. Even though it isn’t particularly difficult, you want to make sure you get everything even. If one board gets off, everything gets off.
4. Finish with end-caps.
Once everything has been laid and drilled, add end-caps to trim the deck and give it a completed look. You’re almost done!
5. Sand your wood for staining.
Before you stain your deck, spot-check it with a sander to make sure everything is smooth and ready for sealing.
6. Stain and seal your deck.
Now, choose a stain and seal, and add however many coats it takes to give you the shiny new porch you wanted. Make sure you allow plenty of time for curing.
7. Add your screen.
If you built the porch underneath an attached roof, you simply have to attach a screen frame from the roof to the deck. If you are building your own roof, you will have to include the roof in the framing portion of the porch project. Then, add the screen fabric.
What if You Want Stairs?
Our process is explained with a low-riding deck in mind. However, if you want to set your deck a little higher and add steps, you simply need to measure the distance between the ground and the bottom of your deck. Then, divide the number by 7.5” and round up for the number of steps you will need to plan for.
Building a screened-in porch or deck is a bit more involved than painting a wall. However, it can save you a lot of money and provide a sense of accomplishment when you look at your home. Just make sure you have a home worth adding on to!
If you’d like to know more about how you can save money on homebuilding, do not hesitate to call us today. At Next Modular, we know that building a new home is likely one of the most important financial decisions you will make. As an experienced modular home builder, we are committed to being your guiding light through this process.


